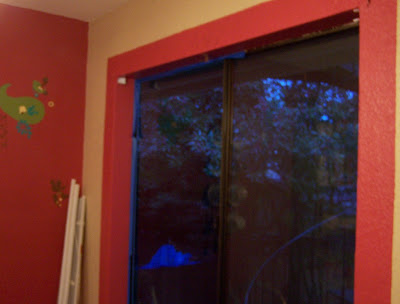
This is the pink wall after adding the paisley designs.
This is the pink window box I painted, just before getting rid of it!
This was round one of the project. I painted the wall blue, then ragged the same bright green paint I have in the kitchen over the blue. Next I struggled to find a stencil I liked, so I bought one and made another. I used the one I made and didn't like it. Neither Tom nor I liked the green ragging. It looked like finger prints all over, not very classy. This is a picture of me trying the stencil we bought, which is what I used in the end.
A bigger picture of the green ragging and the stencil design I made.
After that discouraging first try, I repainted the wall blue (2 more coats!), switching from satin to eggshell in the process so it wouldn't glare as much. Then, Tom helped me by measuring and figuring out how far apart to paint each stenciled design. He suggested that I hang string at certain points, then measure off the string and use little pieces of tape to mark where the centers should be. This worked so well!
This is what each finished stencil looks like.
Here's a shot of the "new" dining room! We moved the hutch over to the corner as well for a little change and better access to the kitchen.


3 comments:
Wow - I like it! Good job Stacy!
Ooohh I love it! Great color combo, too, very striking! I considered doing damask stencils in our bedroom on the wall the bed sits, but decided against it since the grooves in the paneling would make it difficult to get clean lines. Someday I want to try it. Your's looks really great!
Wow girl thats amazing!! Can't wait to see it in person
Post a Comment